Almost everyone knows and loves the nutrient-rich avocado, but only very few people know where the trendy fruit actually comes from, how it grows and that the decorative tree can also be cultivated in our latitudes.
With the help of our useful guide, you too can bring real Mexican tropical flair into your own four walls. In the following, we present you with what is probably the most popular method of cultivating the avocado seed in a water bath.
In this article, we will introduce you to the following points:
What is Required for Successful Cultivation of the Avocado Seed?
- Avocado seed of a ripe fruit (e.g. Hass variety)
- Water glass, bowl or mug
- Water
- 3-4 toothpicks
- Bright & warm location
- A little patience
What is the best way to prepare the avocado seed using the tools described above? In the following paragraph, we would like to go into more detail.
The Best Preparation of the Avocado Seed
First, remove the seed from a ripe avocado (the Hass variety has worked particularly well) by carefully slicing it open. Be careful not to scratch or injure the seed. Tip: You can use a tablespoon to easily remove the seed from the pulp.

Next, wash the core thoroughly under running water until no remains of the pulp are stuck to it (this would encourage the mold formation and thereby endanger the success of the breeding) and also remove the brown skin all around.
A clean, white avocado seed with a smooth surface has emerged. In the next paragraphs, we now specify the further steps.
Let the Avocado Seed Germinate in Water
Probably the most popular and well-known cultivation method for the avocado seed is the variant in water bath. Half of the seed remains in water with the flattened end until strong roots and a small plant have formed.
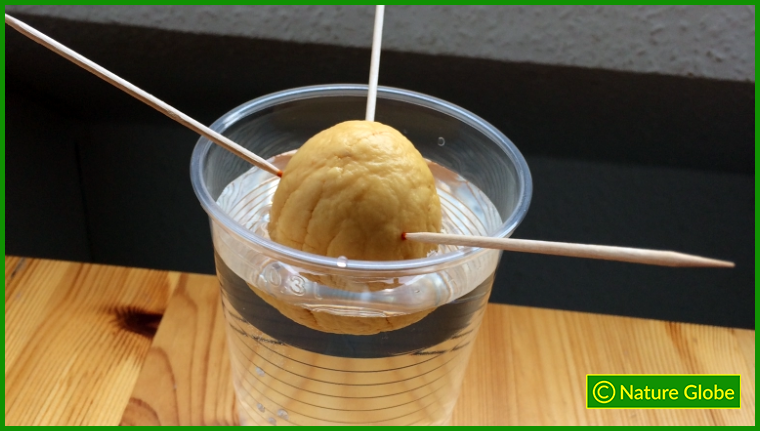
You need a fixation so that the entire core does not submerge when you put it in water. Three to four toothpicks or other small pricks are suitable for this, which are carefully pricked sideways into the core about halfway up.
Make sure that the embryo inside the seed is not damaged by piercing too deeply. Just enough for the poke to hold the core on the rim of the glass or mug. Also, do not pierce the distinctive grooves of the core (this is where the core will break open later).
Now place the cup with the fixed core in a light, warm place that is protected from drafts.
It is essential for successful cultivation that the water level is kept constant (about half of the core). Also, change the water every 3-5 days to prevent rot and mold or water if necessary. Slightly, depending on evaporation.

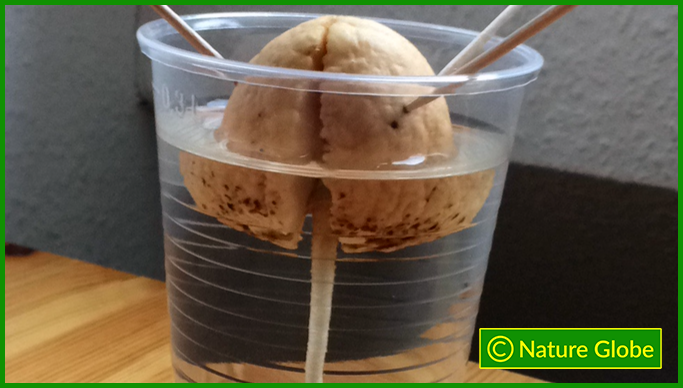
After about 2 weeks, you should be able to see the first small crack on the underside of the core, which is steadily increasing. After about a month, a small stubby root should be visible, which is getting stronger and longer every day.
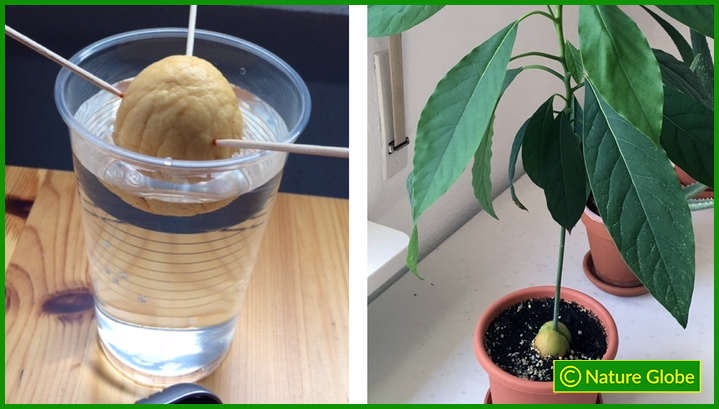
As soon as a branched rootstock and a plant stalk about 15 to 20 cm long with fine leaves has formed, you can remove the core from the water bath and plant it in soil. However, it will take a few months for that to happen.
Therefore, please note that there may be significant fluctuations in the times given and that a little patience is required (depending on the conditions).
As an alternative to the water bath method just described, you can also place the prepared core in the ground. You can also find detailed information on this in our own article!
Video: Sprouting an Avocado Seed in a Glass of Water
In the following YouTube video, you can see the steps of avocado seed cultivation described here briefly and concisely illustrated.
Finally, you will receive a short summary from our editorial team.
Conclusion on Avocado Seed Cultivation in Water
Getting an avocado seed to sprout is not difficult with the right tricks. Once thoroughly prepared and in a good location (bright, warm and draft protected), all you have to do is be patient, and you can gradually track the progress.

Make sure you use the undamaged stone of an avocado that is as ripe as possible and to keep the risk of mold low, then nothing will stand in the way of your own avocado tree.
However, if you still do not see any germination success after approx. 6 months, you will unfortunately have to write off the project as a failure and try again with a fresh core.
We wish you a lot of fun and good luck with the breeding!
This page was created by Micha Gengenbach. Have a look at Micha’s author page to get more information on his background, a list of all his articles, as well as an overview on his other responsibilities on Nature Globe.

